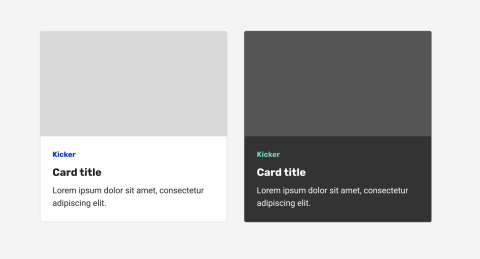
Creating mockups for both light and dark mode used to be a much longer process. Typically I would create the mockup in light mode, duplicate it and then go through and switch all the colors for dark mode. Utilizing variables and modes in Figma has allowed me to create one mockup and swap between two values depending on the mode.
This does require a bit of initial setup, but once you create the variable you can reuse it as a library in future designs.
Create variable modes
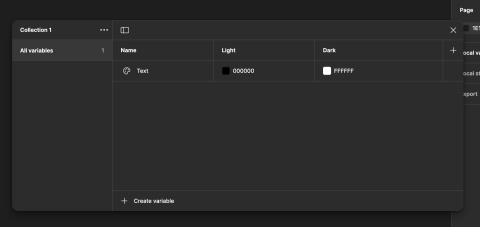
In your local variables tab, add a variable mode for light and dark. This is where we will create all the necessary color variables for each mode.

Create variables for components
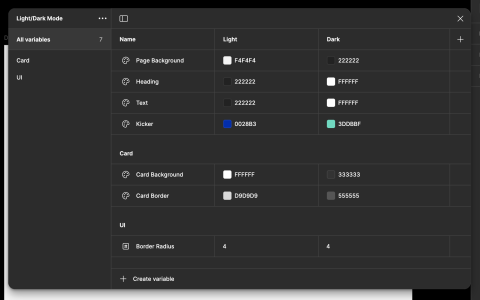
Once you have your modes created, you can start adding color variables for different components. I've noticed that when working with larger files it helps to group variables by color, UI, or component to keep things organized.

Apply to components
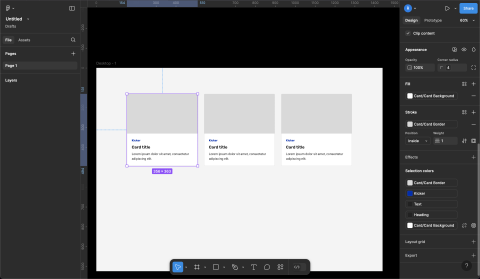
When all of your variables are created and have values for light and dark mode, you can start applying them to components. For this example I'm using a simple card component, and you can see the different variables that I'm using in the right panel.

After you have everything set up, you should be able to adjust the mode by clicking on the swatches icon in the top right corner or in the Appearance section. You can do this for an entire document or for individual frames or components.

Need a fresh perspective on a tough project?
Let’s talk about how RDG can help.
